spring boot 若依系统整合Ueditor,部署时候上传图片错误解决
- 学习笔录-spring boot
- 时间:2020-10-06 12:05
- 9790人已阅读
🔔🔔好消息!好消息!🔔🔔
有需要的朋友👉:微信号
前言:国庆假期找了个ruoyi版本的cms玩玩,从git上看,介绍如下图:
后台部分截图:
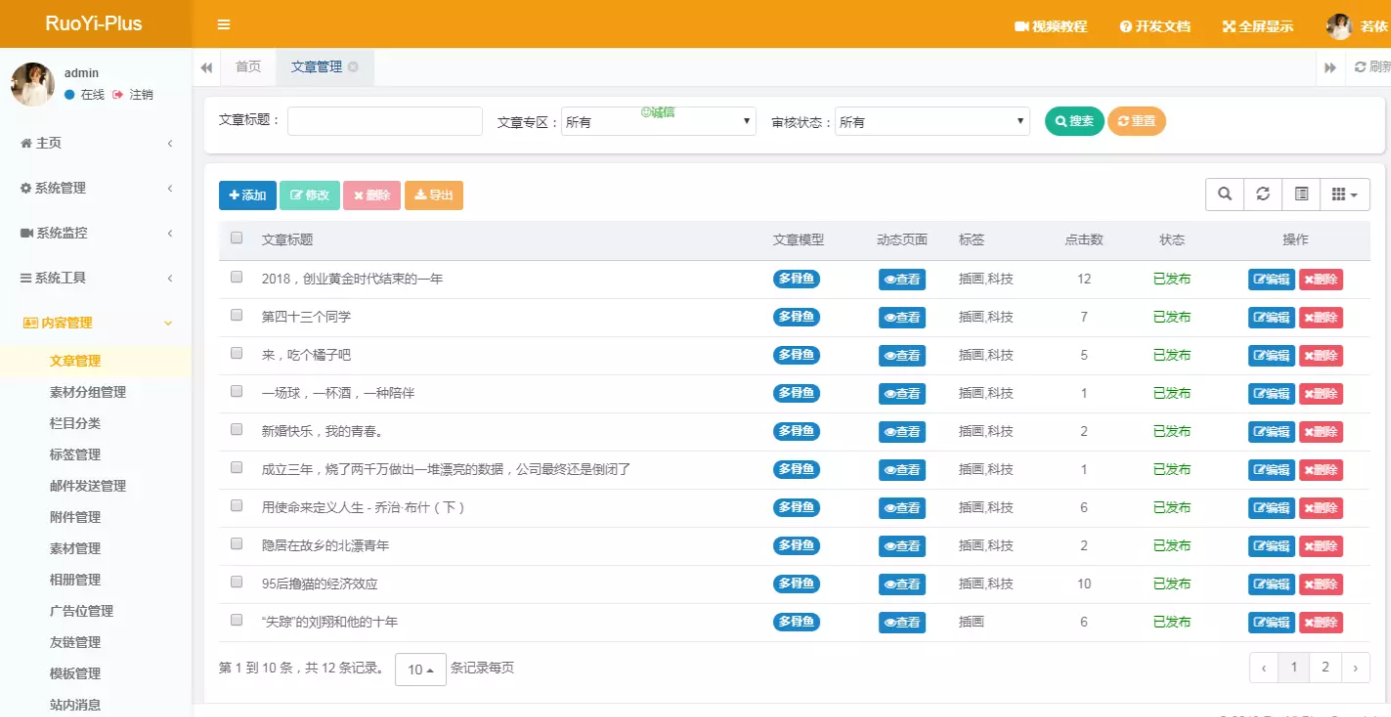
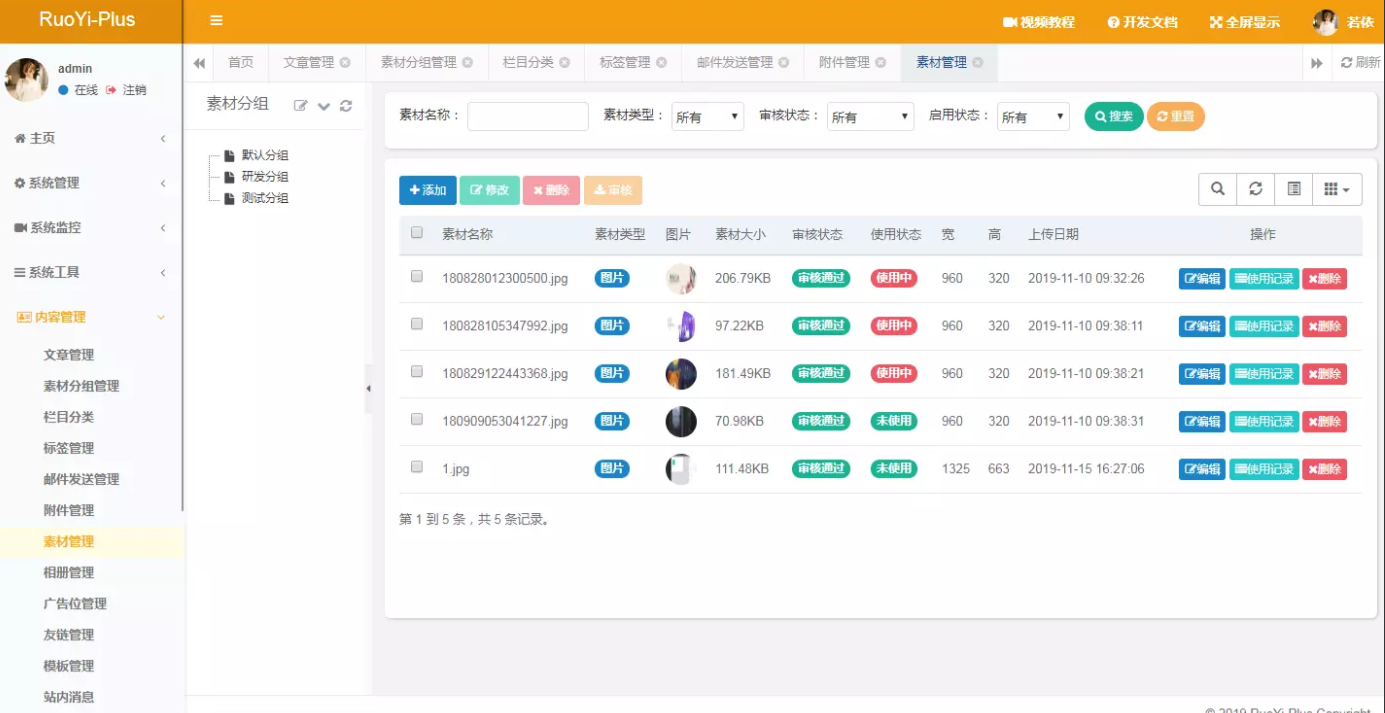
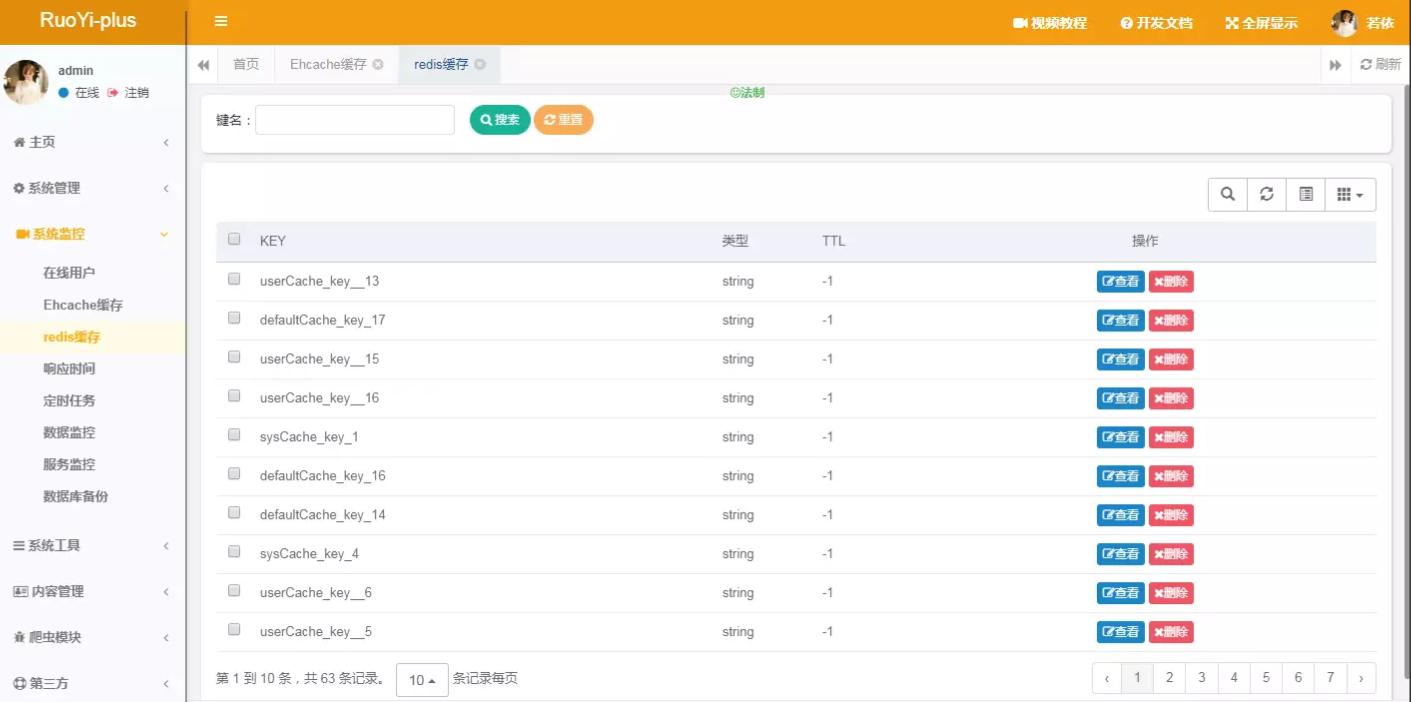
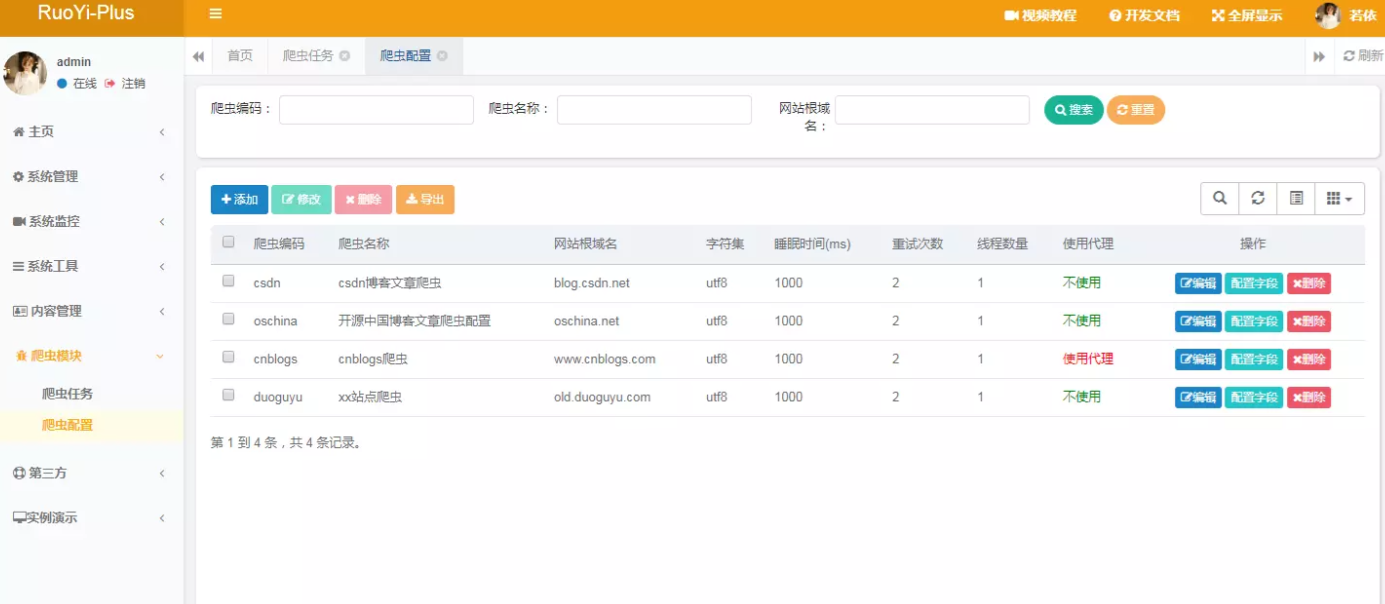
前台blog截图:
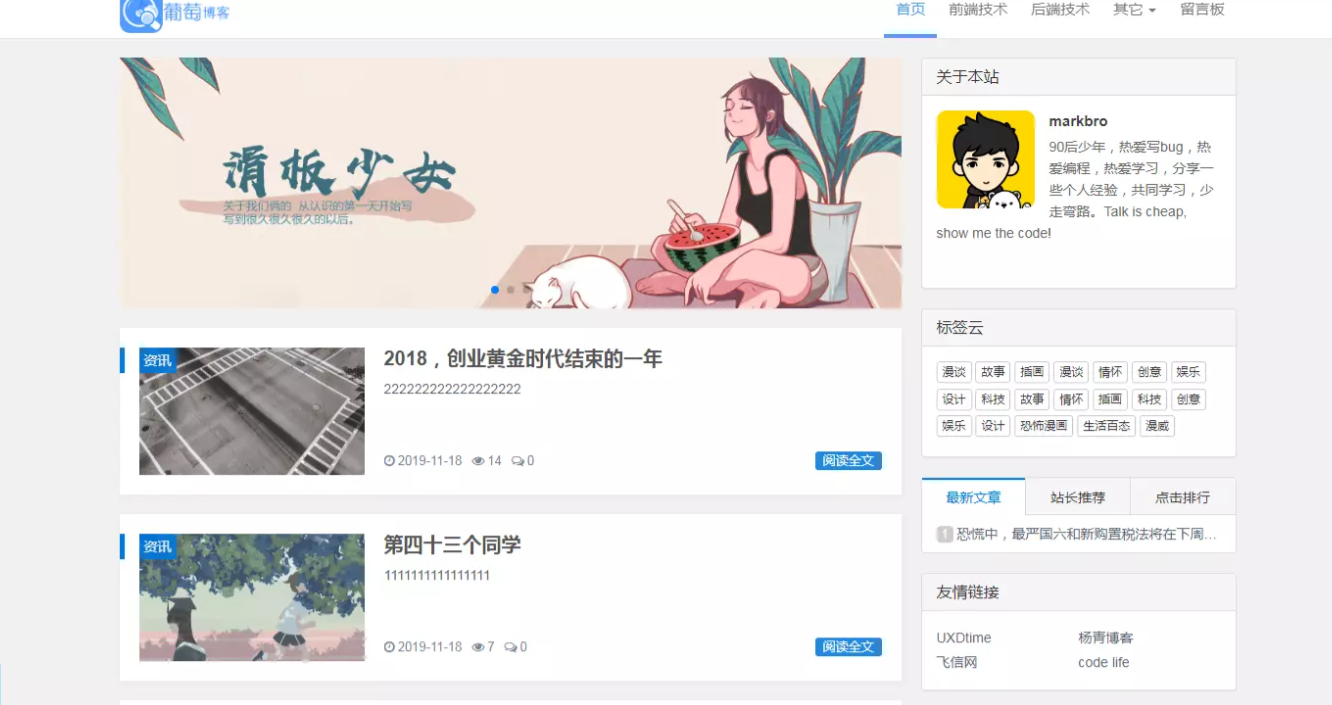

看上去还可以不错,于是clone下来玩玩,结果发现,发布文章的时候,编辑器有问题,上传不了图片,还有其他几个地方有问题,怎么解决呢?自己上手撸代码,修改呗。于是,下载了ueditor的源码,加到项目中,进行修改。现在已经修改完成,并且也发布到的服务器上了,欢迎大家访问测试。文末会有凯哥修改后的git地址o~
正文:
在spring boot整合UEditor的时候,本地idea编辑器中没问题,但是部署服务器上,上传图片提示:“后端配置项没有正常加载,上传插件不能正常使用!”解决办法。
出现这种情况,可以很负责任的告诉你99%是因为,在加载的时候,没有获取到ueditor的config.json文件。怎么处理了?
分析原因:
查看原来文件存放位置:
在resources的static下,正常来说,是没有问题的。但是spring boot打成jar包后的路径和war包的路径是不一样的。文件是在BOOT-INF下的。如下图:
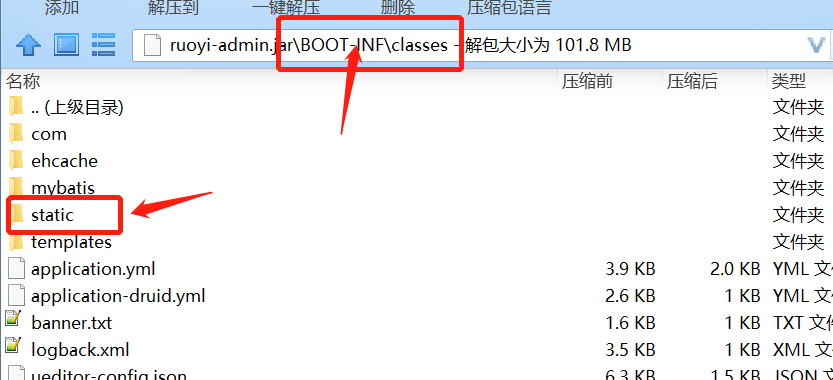
直接获取,是不行的。找到原因后,我们就来想办法解决掉。
解决步骤:
1:修改文件存放位置。
如凯哥,直接就放在了resources下,文件名称为:ueditor-config.json(这个文件名字,在后面需要用到)。如下图:

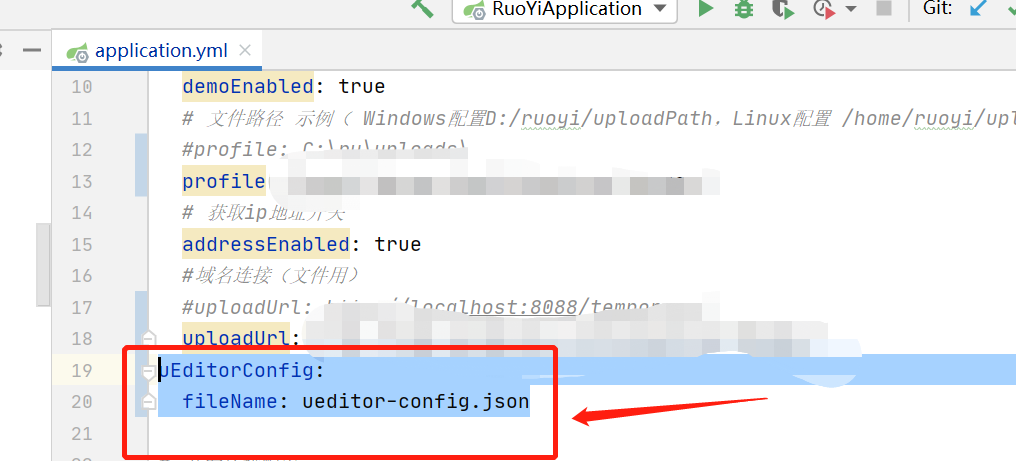
2:在yml文件中,配置ueditor-config.json的文件名:
uEditorConfig:
  fileName: ueditor-config.json
如下图:
3:编写一个controller(ps:JSP的凯哥没有使用,修改成了controller.这样符合习惯)
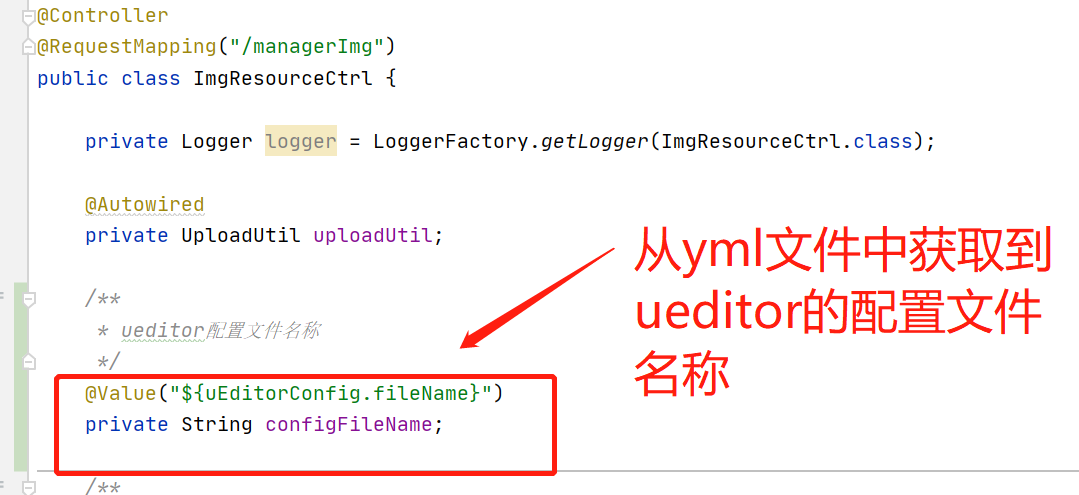
3.1:获取json文件名称
需要注意:把第二步配置的文件名称,获取到。如下图:
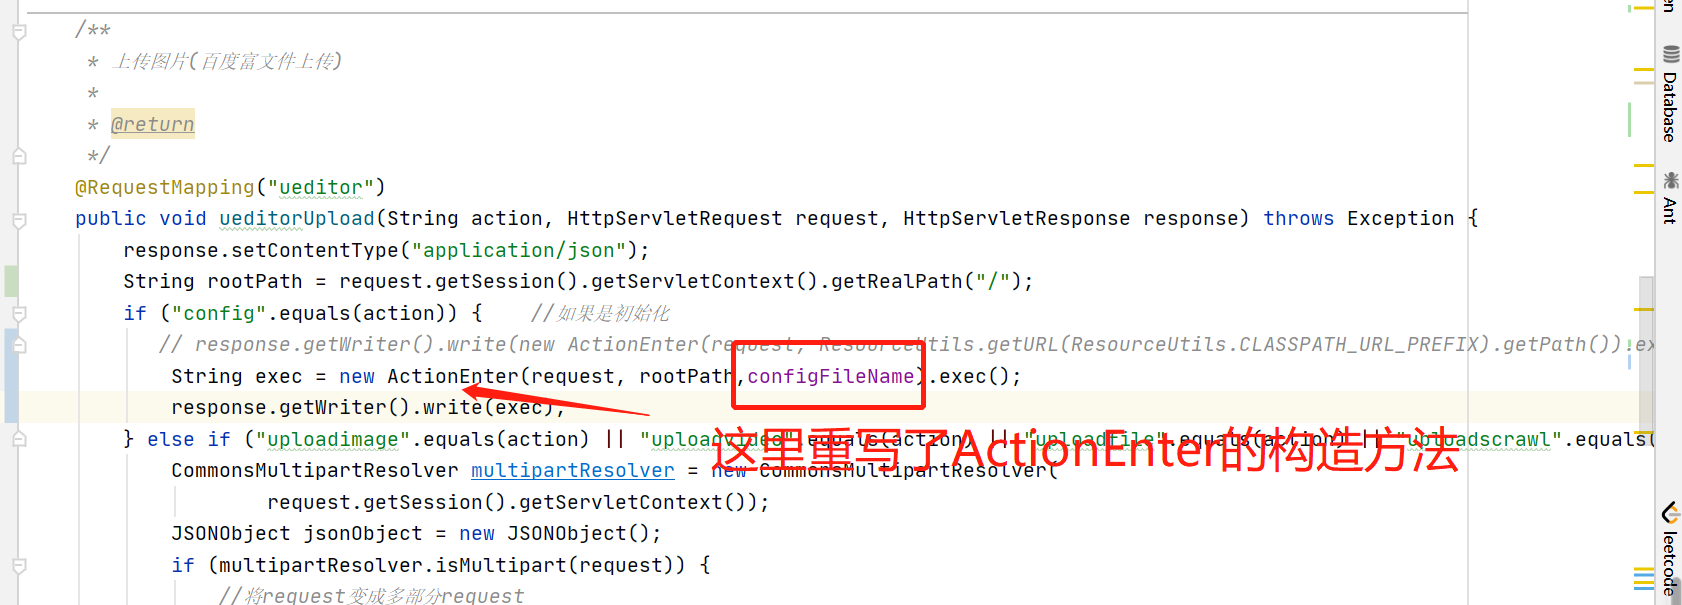
3.2:编写获取json的类(上传的也写在了里面)。如下图:
4:修改Ueditor的源码
4.1:ActionEnter类的构造方法重写。
/**
 * 获取config.json的
 * @param request
 * @param rootPath
 * @param configFileName
 */
public ActionEnter (HttpServletRequest request, String rootPath,String configFileName ) {
   this.request = request;
   this.rootPath = rootPath;
   this.actionType = request.getParameter( "action" );
   this.contextPath = request.getContextPath();
   this.configManager = ConfigManager.getInstance( this.rootPath, this.contextPath, request.getRequestURI(),configFileName );
}
如下图:

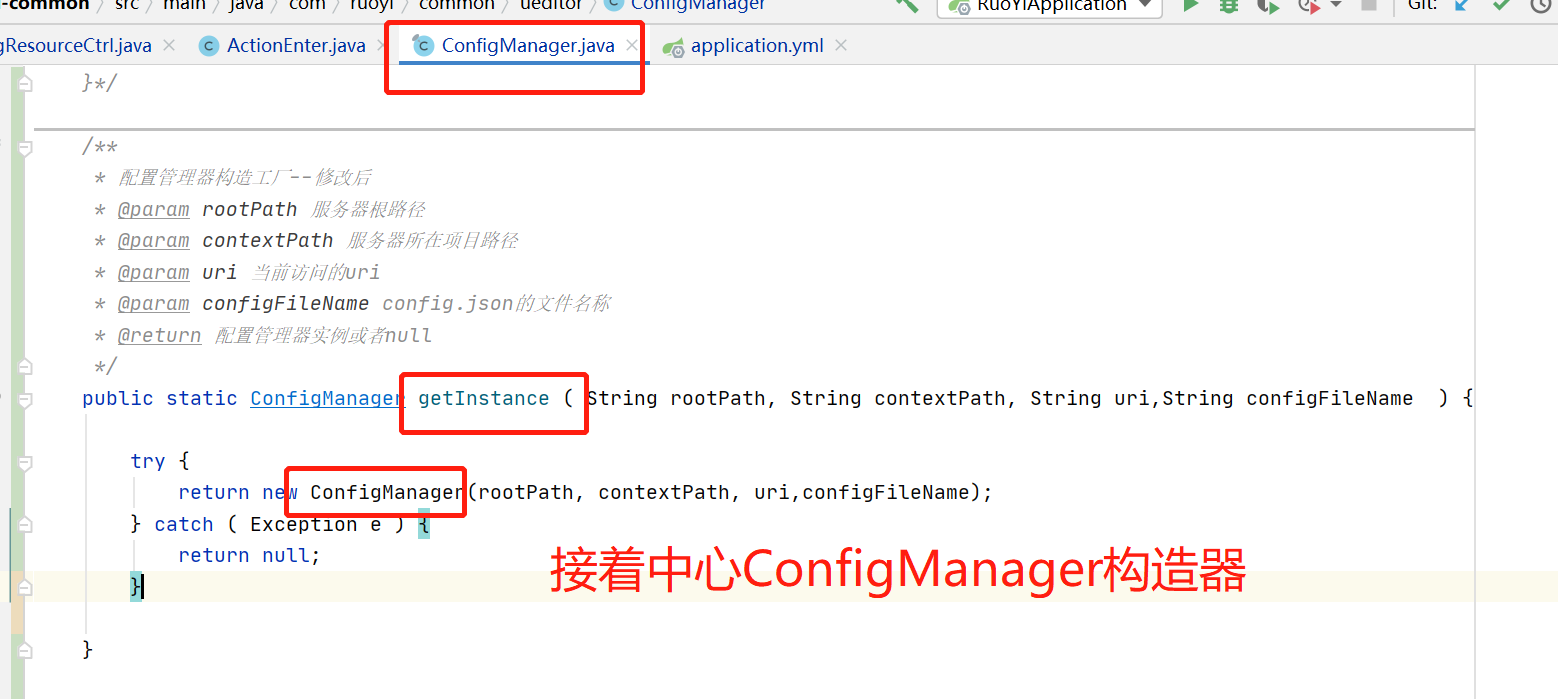
4.2:重写ConfigManager.getInstance方法
/**
 * 配置管理器构造工厂--修改后
 * @param rootPath 服务器根路径
 * @param contextPath 服务器所在项目路径
 * @param uri 当前访问的uri
 * @param configFileName config.json的文件名称
 * @return 配置管理器实例或者null
 */
public static ConfigManager getInstance ( String rootPath, String contextPath, String uri,String configFileName  ) {

   try {
      return new ConfigManager(rootPath, contextPath, uri,configFileName);
   } catch ( Exception e ) {
      return null;
   }

}
如下图:
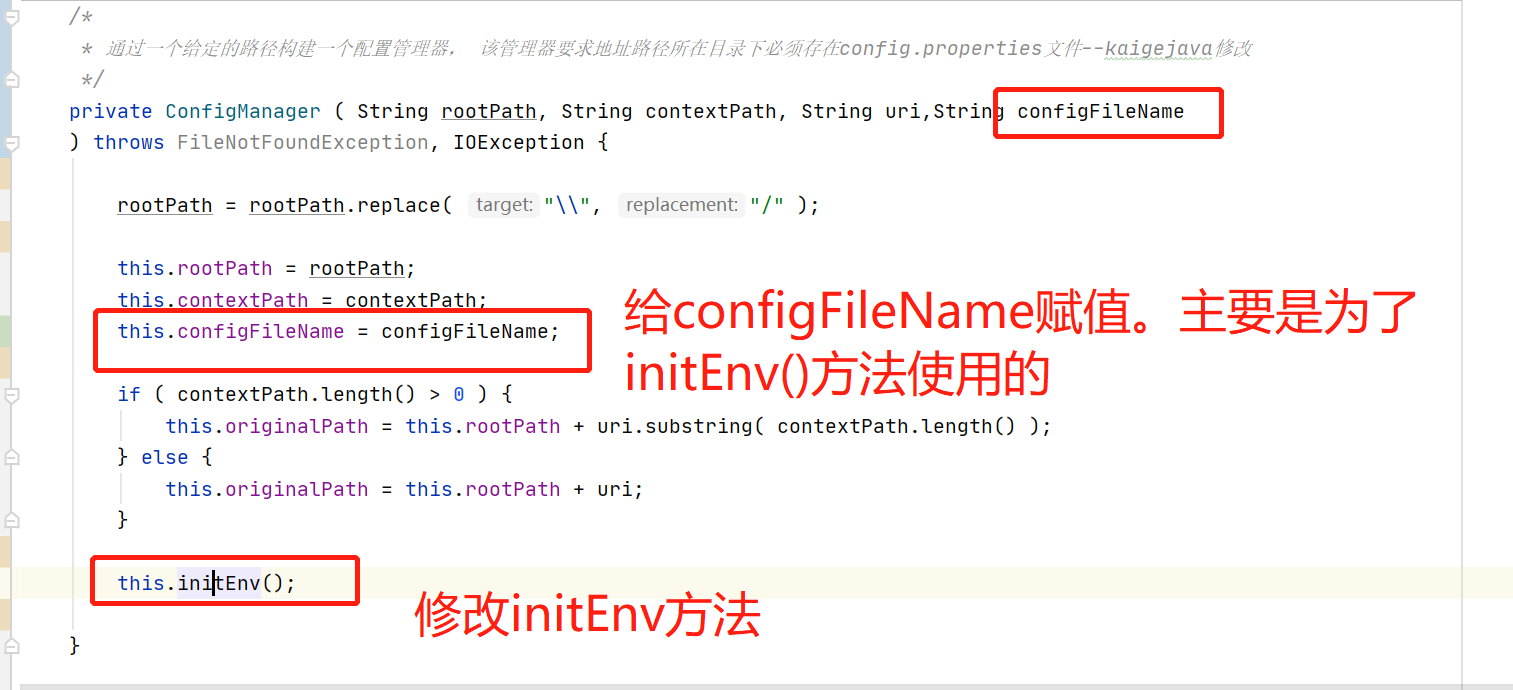
4.3:重写ConfigManager构造器
/*
 * 通过一个给定的路径构建一个配置管理器, 该管理器要求地址路径所在目录下必须存在config.properties文件--kaigejava修改
 */
private ConfigManager ( String rootPath, String contextPath, String uri,String configFileName) throws FileNotFoundException, IOException {

   rootPath = rootPath.replace( "\\", "/" );

   this.rootPath = rootPath;
   this.contextPath = contextPath;
   this.configFileName = configFileName;

   if ( contextPath.length() > 0 ) {
      this.originalPath = this.rootPath + uri.substring( contextPath.length() );
   } else {
      this.originalPath = this.rootPath + uri;
   }

   this.initEnv();
}
如下图:
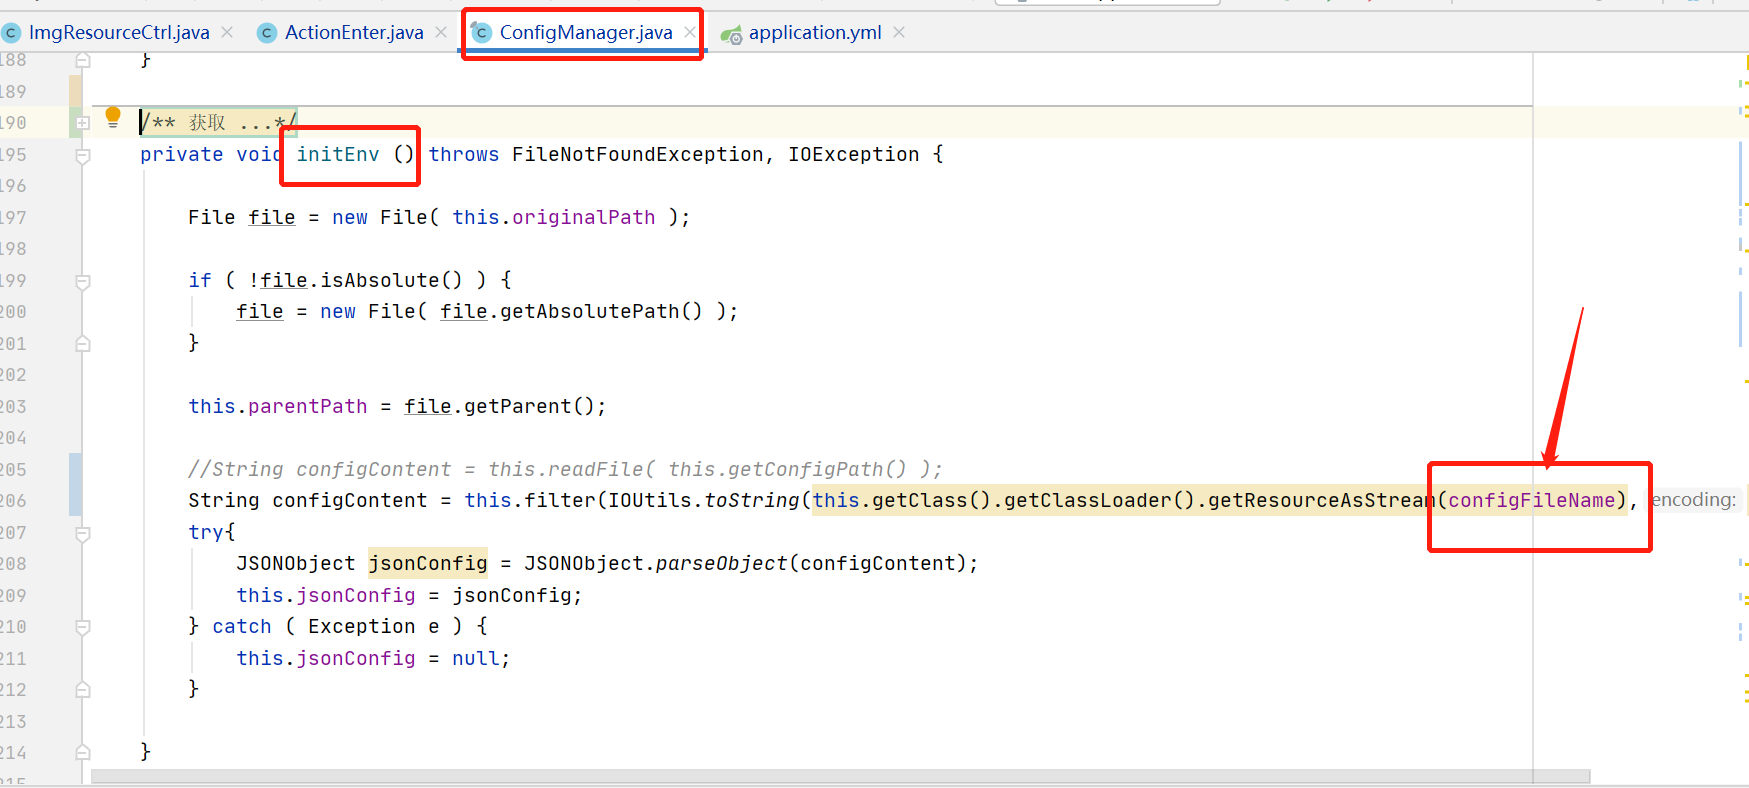
 4.4:修改initEnv方法
private void initEnv () throws FileNotFoundException, IOException {

   File file = new File( this.originalPath );

   if ( !file.isAbsolute() ) {
      file = new File( file.getAbsolutePath() );
   }

   this.parentPath = file.getParent();

   //String configContent = this.readFile( this.getConfigPath() );
   String configContent = this.filter(IOUtils.toString(this.getClass().getClassLoader().getResourceAsStream(configFileName),"UTF-8"));
   try{
      JSONObject jsonConfig = JSONObject.parseObject(configContent);
      this.jsonConfig = jsonConfig;
   } catch ( Exception e ) {
      this.jsonConfig = null;
   }

}
其中核心的:
String configContent = this.filter(IOUtils.toString(this.getClass().getClassLoader().getResourceAsStream(configFileName),"UTF-8"));
修改后,如下图:
 5:修改 ueditor.config.js文件
把ueditor.config.js文件的serverUrl修改成第一步编写的controller对应的url.如下图:

修改完成之后,重新打包之后,部署完成,发布访问试试看。就可以了。
源码获取:关注凯哥的公众号:凯哥Java(kaigejava),回复:kaige-cms。即可获取本系统源码了

blog体验域名:www.jiahaoyou.net
上一篇: 若依后台管理框架初识